One way to really
revamp a room is with a wall mural. A mural adds a one-of-a-kind feeling to a
room and creates a stunning visual you will enjoy every time you enter. As you
prepare to paint a mural, ensure you have the proper supplies and tools to
complete the job.
You do not want to
risk the quality of the mural if you do not have the proper supplies. Learn
about the ideal supplies needed for a mural and how the supplies will help the
mural come to life.
1. Paint Primer
When you paint on a
wall, you want to have a fresh canvas and ensure all the color tones paint
correctly. A white paint primer will eliminate any off colors on the wall and
gives the wall an even white base to plan the mural on. If the wall had a dark
color previously painted on, you may need two coats of primer.
The primer you
purchase should have a matte finish so you can easily apply other paint colors
over the primer. One bucket of primer will typically have enough paint to cover
an entire side of a room. If the mural extends beyond a single wall, consider
multiple buckets of primer.
2. Painter's Tape
Painter's tape
provides you with ways to easily separate parts of the mural and cover large
sections. For example, if the top half of the mural features a sky and the
lower half features grass, you could use painter’s tape to separate the areas
and paint freely without going over specific parts you need in different
colors.
The tape allows you to
try out creative designs and block off specific areas. Once you complete a
layer, you would peel back the tape to showcase the color underneath. As you
plan out the mural, try to envision the final painting in layers and how to use
painter's tape to effectively access the different layers.
3. Paint Brushes and
Sponges
The typical rollers
and brushes used to paint walls are not the only paint supplies you need for a
wall mural. Consider different brushes and paint accessories to achieve
different looks. For example, sponges will add a layered look to the paint and
help add a textured view to the mural.
Use sponges to paint
clouds, treetops, animal fur, or water elements along with other options. Small
tip brushes will help you add very specific details. For example, if any of the
designs feature eyes, the small brushes will help detail the eyes and make them
look lifelike.
As you plan out the
mural design, consider how different elements will look with specific brushes
and brush designs.
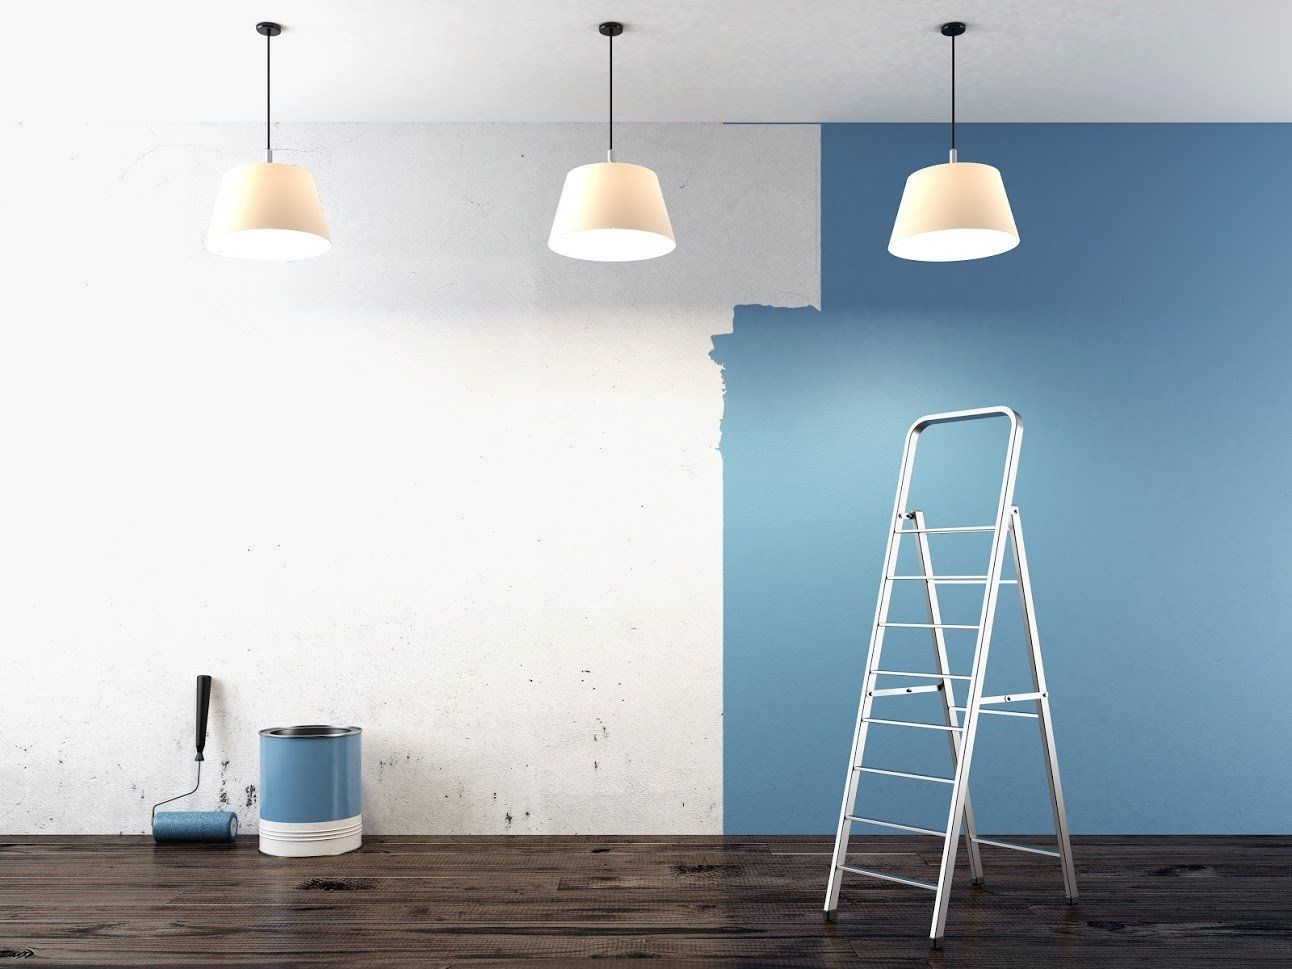
4. Stepladder
When you paint a mural
design, you do not want any restrictions to impose on your artistic ability. A
stepladder gives you access to hard-to-reach places. As you design and paint
the mural, you do not want to reach upwards too far and extend your arms to
hard-to-reach places.
Ensure the stepladder
you purchase has enough height so you can reach the top of your wall with ease.
Some stepladders may include areas to place supplies so you do not need to
constantly go up and down the ladder as you paint.
5. Wall Varnish
Once you've completed
your mural masterpiece, you want to protect the design for years to come. After
the paint has completely dried, apply a clear wall varnish over the whole
mural. The protective varnish will prevent chipping, wear, or decolorization
over the years.
The mural will remain
in mint condition just like the day you painted the design. Select a matte
varnish because the glossy versions could create a lot of glare and create a
challenge when you try to view the whole mural at once.
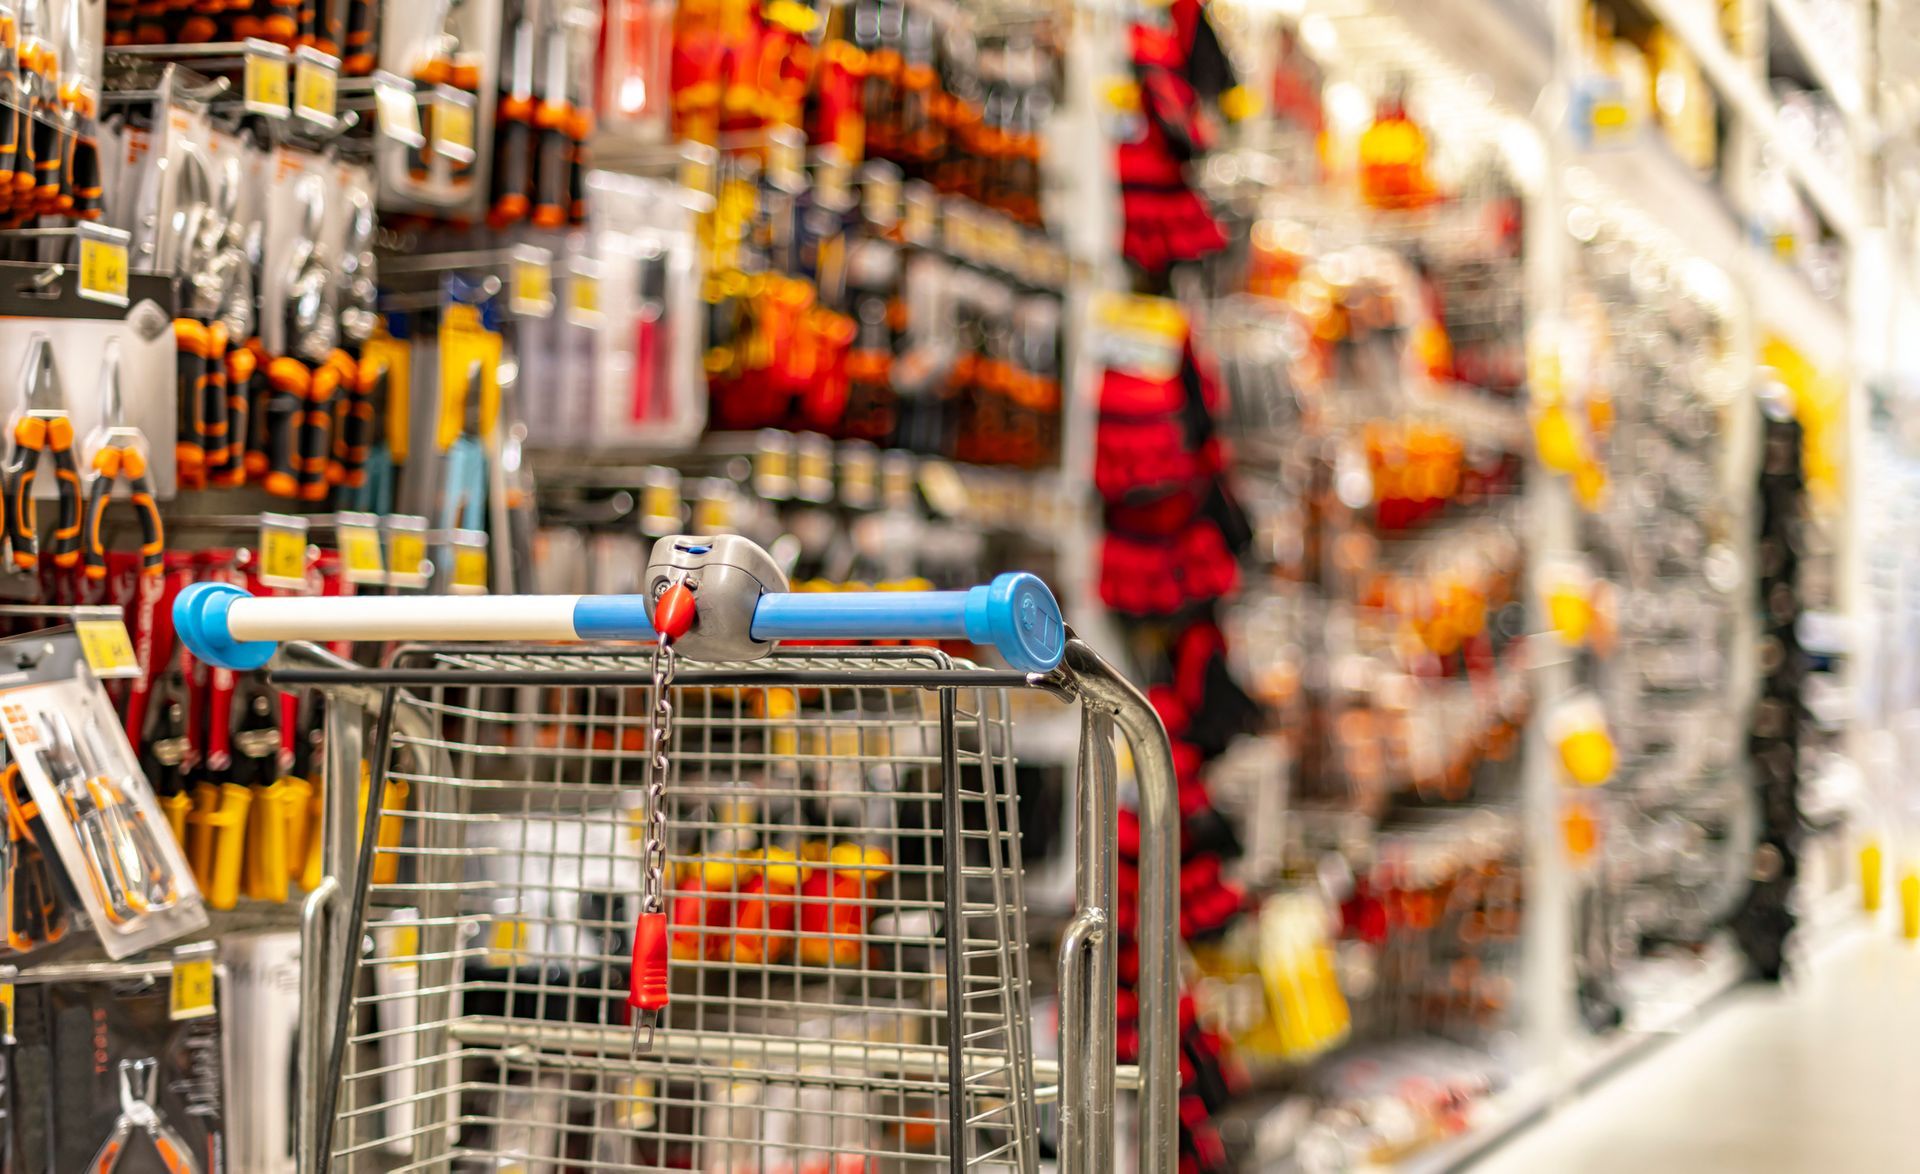
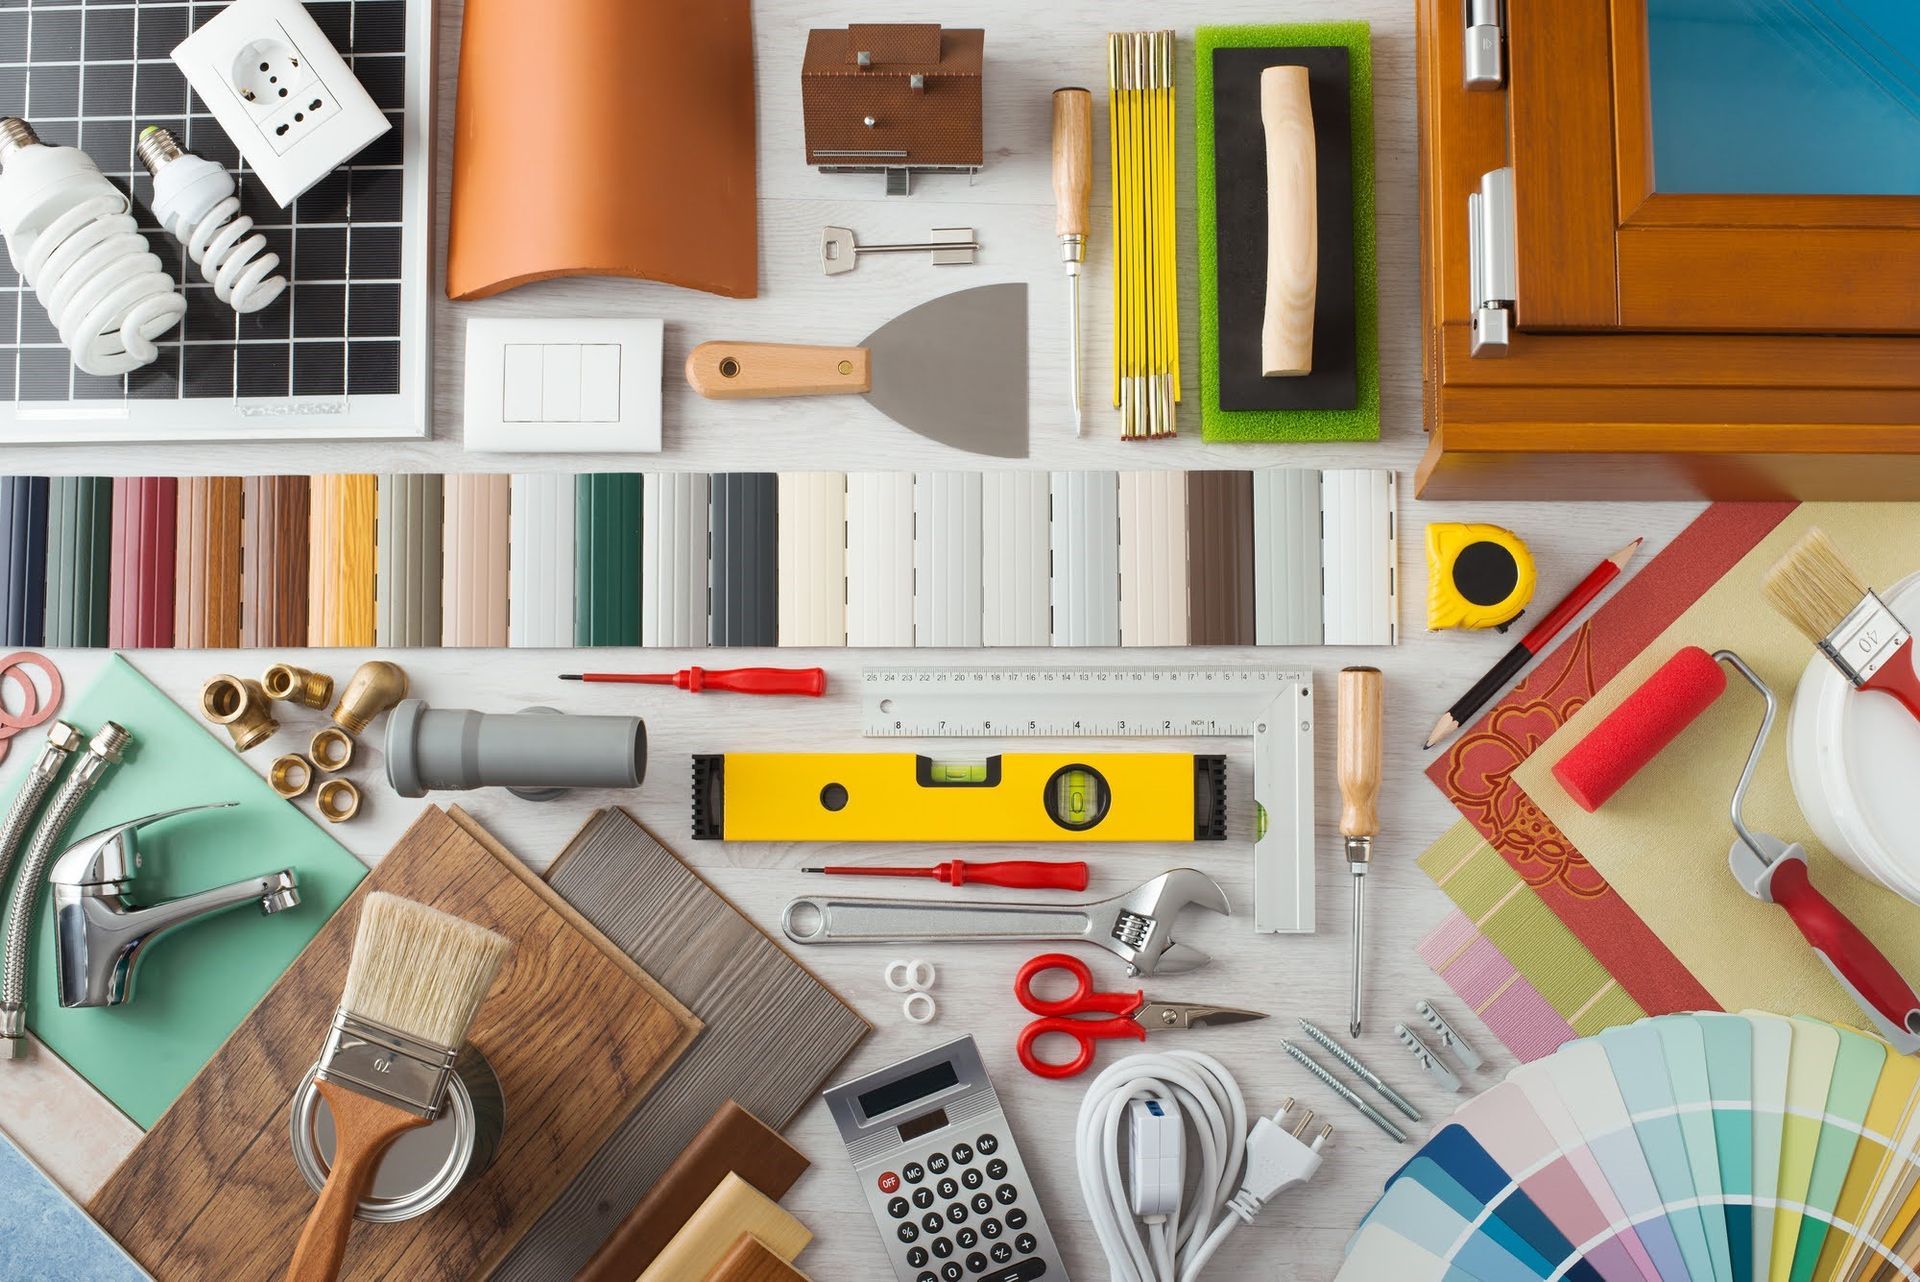
For a full list of
available supplies, check out our selection at
Koontz Hardware. Not only do we have
supplies, but our knowledgeable staff will help you find what you are looking
for and give you some tips and tricks along the way.